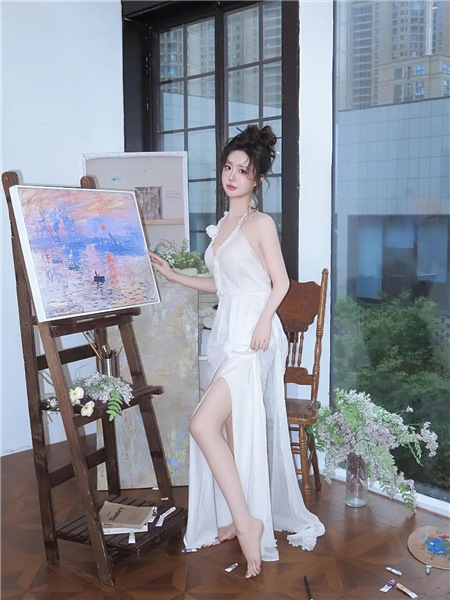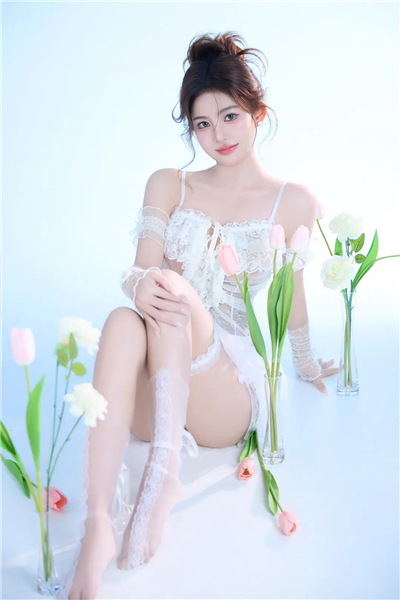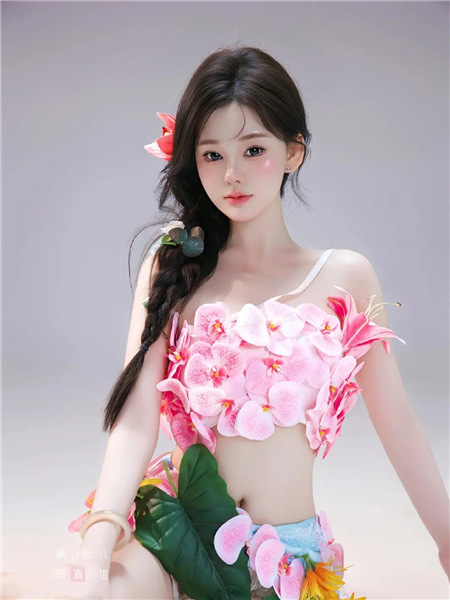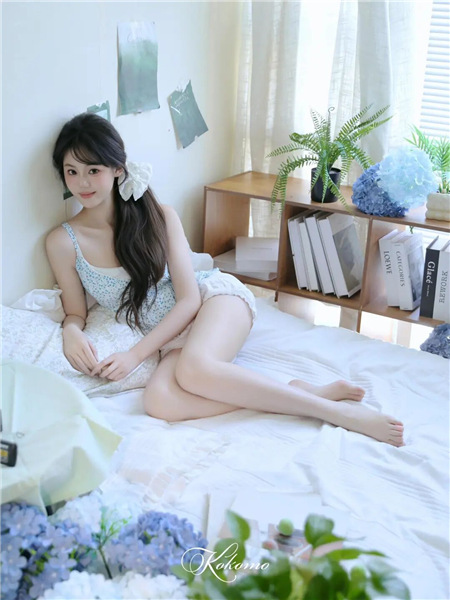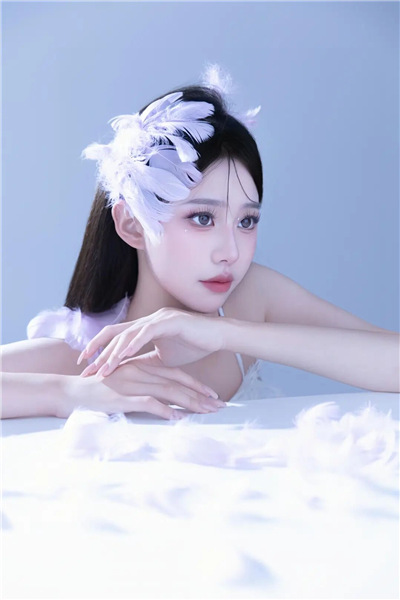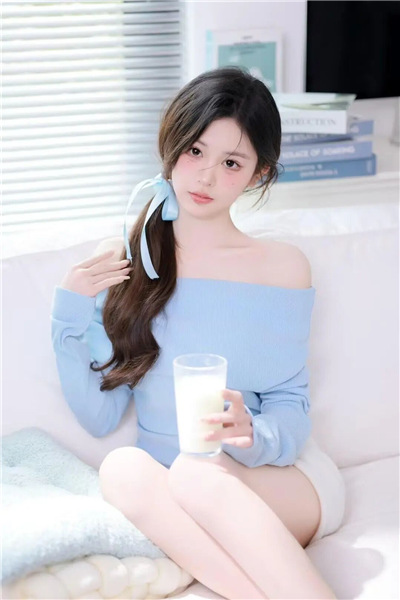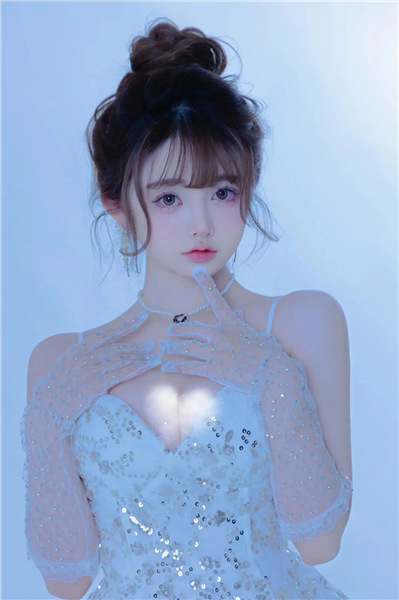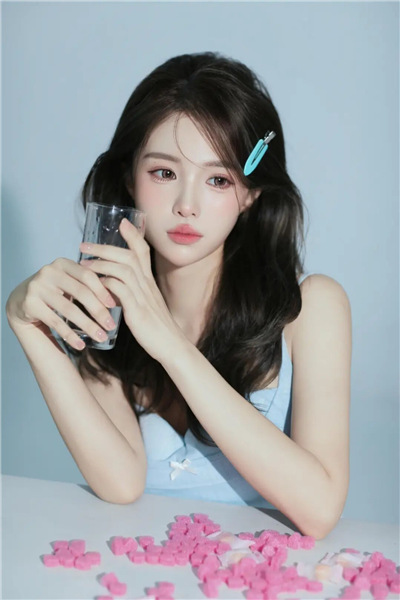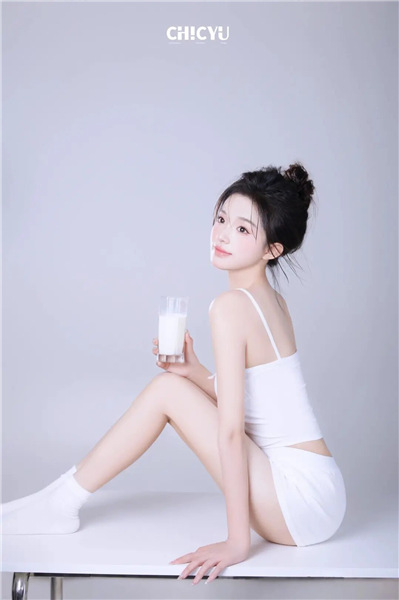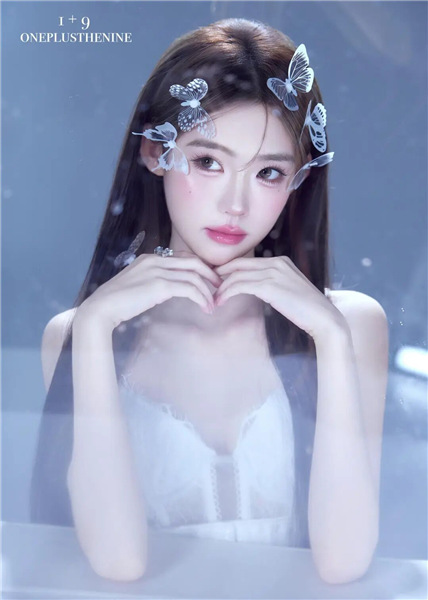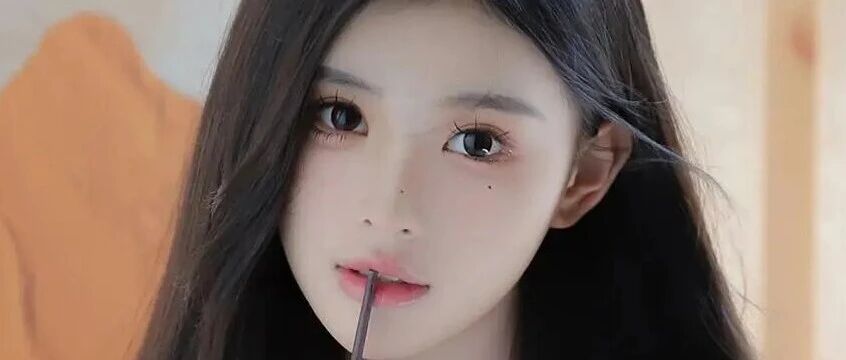
Art studio portraits naturally come with a tender yet detached artistic filter. When crisp white outfits meet raw wood furniture and natural light, it becomes incredibly easy to capture stunning photos that strike the perfect balance between a cool, aloof demeanor and a softly sensual (pure desire) aesthetic.
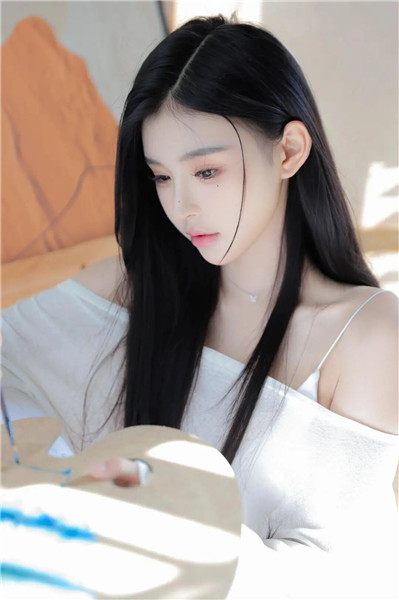
While many think this style is difficult to master, beginners can easily pull it off by nailing the lighting, scene interaction, and atmospheric details.
Today, we will break down the ultimate guide to art studio portrait photography across four key areas: pre-production, lighting techniques, posing & interaction, and post-processing. Let’s unlock those storytelling, artistic masterpieces together.
- Pre-Production: Establishing the Cool & Artistic Foundation
To achieve that signature art studio atmosphere, your pre-shoot wardrobe, makeup, and prop curation are absolutely essential. Get these right, and half your work is done.
Wardrobe Choice: Low-Saturation Solids for Effortless Sensuality
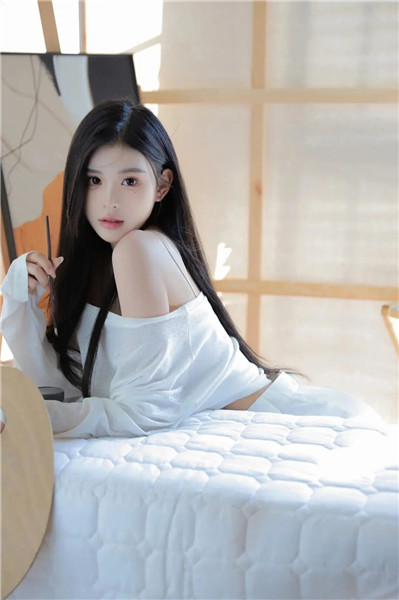
Prioritize low-saturation, light-colored clothing such as white, off-white, and light apricot. Opt for soft textures like knits, cotton, or linen that naturally exude a cozy, relaxed vibe. For instance, an off-the-shoulder white knit set subtly highlights the neck and shoulder lines. Its loose fit adds a touch of sensuality without looking forced, blending beautifully with the warm wood tones of the studio to keep the image clean and high-end.
Makeup & Hair: Luminous “No-Makeup” Look to Enhance an Aloof Aesthetic
The core of this makeup style is “translucency.” Keep the base makeup light and skin-like for a flawless, natural complexion. Dust the eyelids with a sheer layer of earth tones, skip heavy eyeliner, and use mascara paired with defined aegyo sal (undereye pockets) to naturally enlarge the eyes. For lips, stick to low-saturation shades like milk tea or nude pink, applying it thinly. When it comes to hair, sleek straight black hair is the ultimate match for a cool studio vibe; a few loose strands catching a breeze add a dynamic, effortless layer that echoes the quiet stillness of the room.
Props & Scenery: Lean into Authentic Art Studio Elements
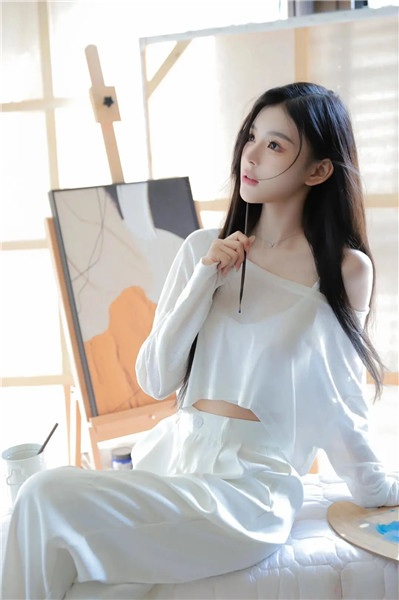
Easels, canvases, brushes, palettes, and paint cups are your best tools for building the environment. Don’t over-stage things—simply use the studio’s wooden easels and half-finished paintings as your backdrop to add depth and an instant artistic flair. Interacting with a paintbrush or palette also gives the model’s hands a natural purpose, instantly injecting a narrative element into the frame.
- Lighting Techniques: Using Natural Light for a Translucent, Cool Texture
Lighting is the soul of studio photography. The right light acts as a built-in soft filter, amplifying that tender, poetic mood.
Light Choice: Window Soft Light for Translucent Layers
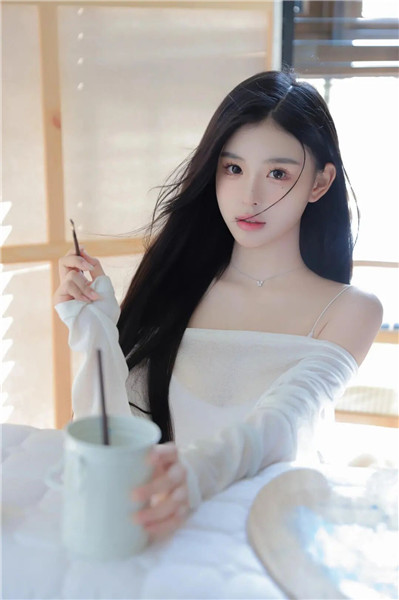
Stick to natural, diffused light coming through a window. The best windows of time are 9:00 AM – 11:00 AM or around 4:00 PM. The light during these hours is soft and gentle. When filtered through blinds or sheer curtains, it casts beautiful, soft lines of light across the subject and the studio, creating a dreamy ambience. This soft illumination wraps evenly around the subject, erasing harsh shadows while beautifully tracing their silhouette.
Exposure Control: Brighten Slightly to Retain Texture Details
Overexpose slightly by about +1/3 of a stop to make the overall frame brighter and softer. Be careful not to overdo it, though—you don’t want to blow out the details. You need to preserve the texture of white clothing and the translucency of the skin so that the final image looks natural and clear after minor post-processing tweaks.
Light Application: Master Side-Backlighting for Glowing Hair Strands
Try shooting with side-backlighting, allowing the light to stream in from behind and to the side of the subject. This creates a stunning halo effect along the edges of the hair. Use a reflector in front to gently bounce light back onto the face so it doesn’t fall into deep shadow, giving your image rich layers and a striking atmospheric presence.
- Posing & Interaction: Staying Relaxed to Tell a Visual Story
The key to posing in an art studio is “effortlessness.” Steer clear of rigid, forced poses. Instead, let the model interact naturally with the space and props to evoke genuine emotion.
Sitting Poses: Lounging and Stretching for a Relaxed Vibe
Have the model sit on a studio cushion or next to an easel, leaning her body back slightly. One hand can rest casually by her side while the other holds a paintbrush, her gaze drifting toward the canvas or away from the lens to capture a cozy, daydreaming mood. Alternatively, she can sit sideways in front of the canvas, tilting her head slightly with a dropped shoulder to showcase her collarbone, adding a subtle touch of sensuality and movement.
Prop Interaction: Light Grips and Gentle Leans for Seamless Integration
When holding a paintbrush, keep the grip light and relaxed. Bring it close to the cheek or the canvas while looking gently at the camera to convey a sense of quiet focus. The model can also hold a palette or paint cup and look down at it, creating an authentic “mid-painting” moment. For a more detached, aloof look, rest the end of the brush gently against the chin while letting the eyes drift into space.
Expression Management: Soft and Restrained Emotions
Avoid big, forced smiles. A subtle, downcast smile, a soft gaze into the lens, or looking down at the sketchpad can effortlessly convey deep, quiet emotions. A clear gaze mixed with a hint of detachment—paired with the quiet backdrop of the studio—instantly makes the subject look like the main character of an indie art film.
- Post-Processing: Low Saturation and Softening for a Poetic Vibe
The goal of your editing phase should be to “reduce contrast, lower saturation, and increase transparency,” preserving the soft, cool mood of the studio.
Basic Adjustments: Lower Contrast & Lift Shadows
Start by dropping the contrast so your highlights don’t blow out and your shadows don’t clip into pure black. Lift the shadows slightly to make the overall frame brighter and gentler. Nudge the white balance temperature slightly toward the cooler side and fine-tune the tint toward white/pink to create a clean, porcelain-fair skin tone.
Color Grading: De-saturate and Unify the Palette
Lower the overall saturation—especially the red and yellow channels—to keep the colors from looking too loud or distracting. Isolate and adjust the skin tones to give them a faint, cool-white quality. Mute competing colors in the room to keep the palette cohesive, ensuring the subject remains the main focus.
Detail Optimization: Gentle Softening for a Dreamy Vibe
Apply a light skin-smoothing pass while making sure to preserve real skin texture; avoid heavy-handed airbrushing that results in a plastic look. You can introduce a subtle soft-glow effect to take the sharp edge off the digital file, creating a hazy, cinematic quality while keeping the fine details of the hair strands and paintbrush intact.
Summary
The true magic of a soft, sensual art studio portrait never relies on eccentric styling or loud, heavy colors. Instead, it thrives on the harmony of light, an authentic setting, and relaxed interactions that reveal a tender yet beautifully detached artistic spirit. By leaning into these techniques, photographers and models alike can effortlessly capture a storytelling, cinematic masterpiece that beautifully freezes a quiet, gentle moment in time.